Photographie · 4 min de lecture
Editing Underwater Photos Without Overcooking Them
Every underwater RAW file needs help — that is physics, not failure. A restrained workflow for white balance, backscatter, and color, plus where the ethical lines sit.
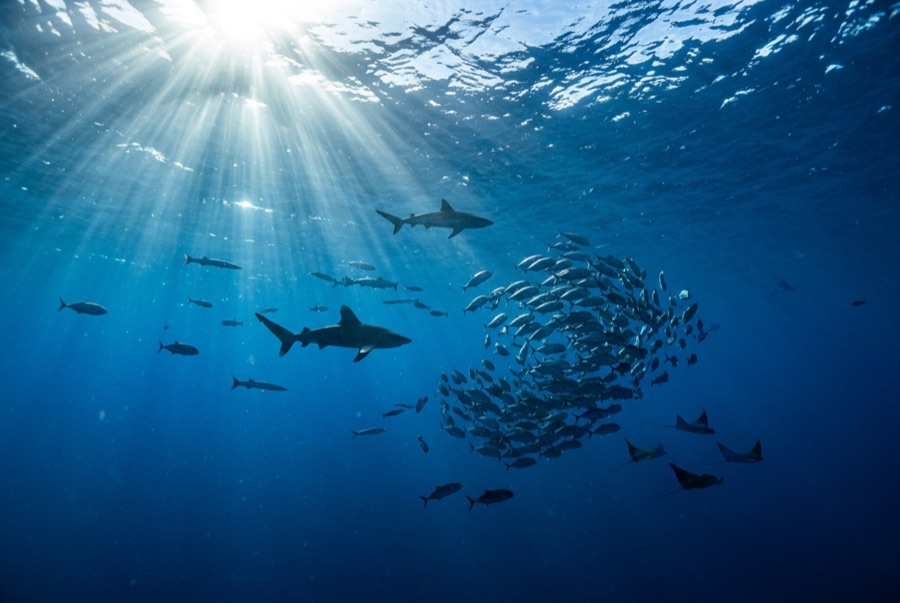
Straight out of the camera, almost every underwater photograph looks worse than the dive felt. That is physics, not failure: water filtered the color and softened the contrast before the sensor ever saw the scene. Editing underwater images is therefore not cheating — it is finishing the job the water interrupted. The craft lies in knowing where finishing ends and fiction begins.
Cull first, edit second
Import everything, then be merciless. Delete the out-of-focus, the backscatter blizzards, the tail-end-of-fish frames, and keep only images with a subject, sharp eyes, and workable light. Editing thirty keepers well beats half-editing four hundred maybes, and the discipline teaches you more about your shooting than any tutorial. Shoot RAW if your camera allows it; the latitude to recover color and shadow detail is the whole argument for the format underwater.
A workflow that works
Order matters, and global corrections come before local ones.
- White balance first: pull the temperature away from blue-green until sand, tanks, or skin look neutral. This single slider does more than everything else combined.
- Exposure and contrast next, lifting shadows gently and protecting highlights.
- Dehaze and clarity in small doses — they cut through water haze convincingly and turn images crunchy the moment you lean on them.
- Color last: nudge vibrance rather than saturation, and rein in red and magenta so skin and coral stop short of radioactive.
Any of the mainstream RAW editors handles all of this — Lightroom and Capture One among the paid options, darktable and RawTherapee among the free — and presets from other photographers are starting points, not destinations, because every body of water casts differently.
Backscatter and local repairs
Healing and clone tools remove scattered specks convincingly, and modern content-aware versions make short work of moderate backscatter. Work at full magnification, keep repairs smaller than the subject, and know when to stop: a frame that needs a thousand heals was a lighting failure, and the honest fix is better strobe positioning on the next dive. Cropping is legitimate and often decisive — straighten the horizon of the reef, tighten toward the eyes, and give moving subjects space ahead of them.
Where the ethical lines sit
Adjusting tone and color is universally accepted. Removing your own backscatter is standard. Beyond that, be careful: adding, removing, or relocating animals turns a photograph into an illustration, and presenting composites or heavily staged scenes as natural behavior misleads viewers and damages trust in wildlife imagery generally. Photo competitions typically require RAW files on request and disqualify manipulation beyond accepted developing, so keep your originals. A simple personal rule scales well: edit anything about the light, nothing about the facts. Caption honestly — if the frame came from a baited dive or a controlled encounter, say so.
Finally, export deliberately: modest sharpening for screen, more for print, and sRGB color for the web so the blues that survived all this actually reach your audience intact. Edit on a screen at moderate brightness in a dim room — laptop screens at full glare flatter dark files and lie about shadows. When a whole dive shares the same light, correct one frame carefully and synchronize the settings across the batch; consistency across a set reads as skill. Then back up the originals twice, because the ocean does not offer reshoots.