Seguridad · 4 min de lectura
Safety Stops, Explained
What the three minutes at five meters actually accomplishes, when a stop is expected versus discretionary, and how to hold one properly in real conditions.
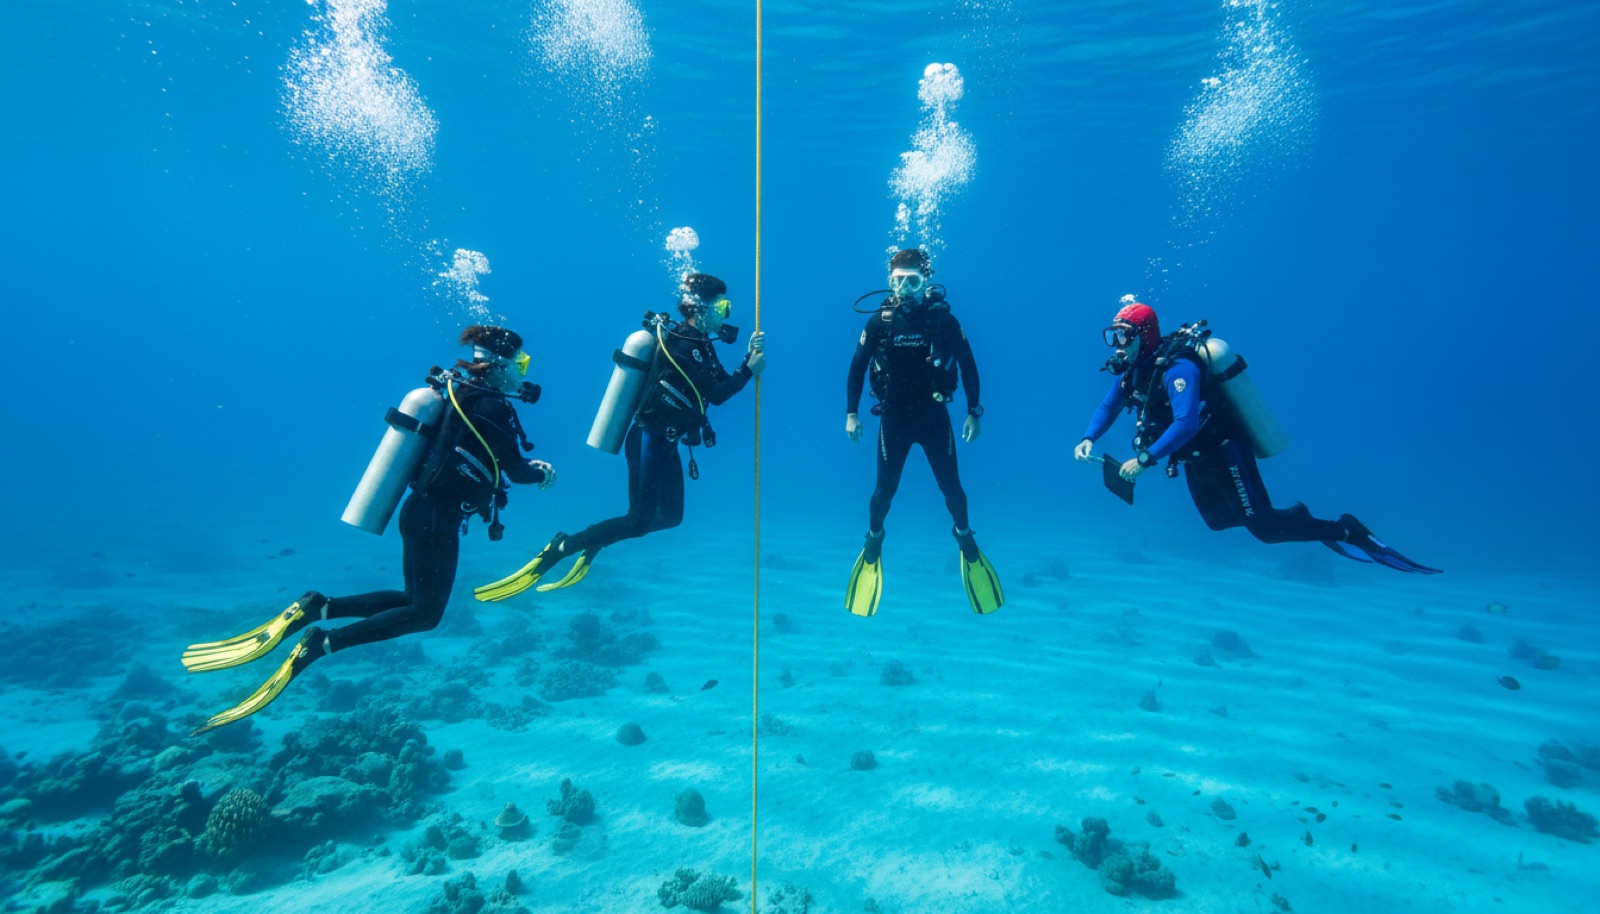
Hang at 5 meters for three minutes at the end of a dive: as rituals go, the safety stop is short, free and stubbornly worthwhile, and understanding why turns it from a chore into something divers genuinely value.
What the stop does
Throughout a dive your tissues absorb nitrogen; during ascent they release it. The final few meters are where ambient pressure changes fastest in relative terms — from 5 meters to the surface, pressure drops by a third — so this is precisely where a pause pays best. Holding at 5 meters keeps a favorable gradient working through your lungs while you are still under enough pressure to keep dissolved gas better behaved, trimming the bubble load you carry topside. The stop also enforces something subtler: it breaks the ascent and guarantees the last meters happen slowly and deliberately, which is where impatient divers otherwise do their worst work. Studies of bubble scores and mainstream agency teaching both point the same direction — the stop is cheap insurance layered on top of a proper ascent rate, not a substitute for one.
When it is expected
Training convention treats the safety stop as standard practice on essentially every dive beyond shallow teaching depths, and as strongly expected after dives deeper than about 30 meters or dives that approach no-decompression limits. Computers prompt it automatically, typically counting down three minutes once you reach the stop window. Two distinctions keep the concept clean. A safety stop is discretionary in an emergency: low gas, a distressed diver, deteriorating conditions — you may surface without it, and should, when staying poses the greater risk. A decompression stop is a different thing entirely: mandatory, model-required time you must complete because direct ascent is no longer safe, which recreational no-deco diving is planned specifically to avoid. If your computer ever demands stops, you follow it, then review how the dive got there.
Holding a stop well
- Arrive with gas to spare. Plan to reach 5 meters with a healthy reserve — commonly 50 bar as a working figure — so the stop is calm rather than rationed.
- Use a reference when available: an anchor line, a sloping reef, or a deployed surface marker on a spool. In blue water, watch the computer and a fixed particle field, and mind that waves make the top 2 meters restless.
- Stay neutral and horizontal rather than hanging vertically on a line like laundry; buoyancy practice at the stop is free training every single dive.
- Use the time: check remaining pressure, signal the boat with your marker in drift conditions, look up and listen for traffic, and unwind. Some of the best animal encounters happen at stop depth, where light is generous.
- After the stop, the job is unfinished: the final ascent to the surface should be the slowest segment of the whole dive.
Common questions, short answers
Deeper or longer stops? Some divers add a brief deeper pause on deeper profiles; follow your training and computer rather than improvising theory. Repetitive dives? The stop matters more, not less, as residual nitrogen accumulates across a day. Rough surface? Hold the stop slightly deeper within the window rather than skipping it, if conditions allow. Skipped one by accident? Do not re-descend to make it up; note it, extend your surface interval, stay alert for symptoms and dive more conservatively next time. Three unhurried minutes, most dives of your life: few habits in the sport buy more for less.