Fotoğrafçılık · 4 dk okuma
Underwater Camera Basics: Light, Water, and Your First Rig
What actually matters when you start shooting underwater: buoyancy first, the physics of light second, gear a distant third. Includes honest starting settings and the habits that separate keepers from blue mush.
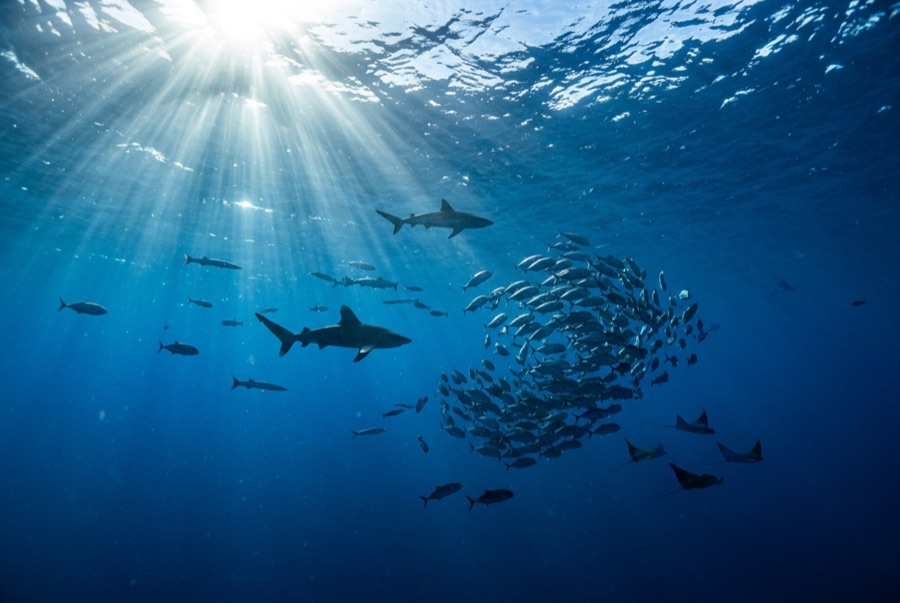
Water is a brutal place to make pictures. It swallows light, strips color, and fills every frame with drifting particles. The divers who bring back images worth keeping are rarely the ones with the most expensive rigs — they are the ones who understand what water does to light and work around it. That understanding costs nothing, and it is where this guide starts.
Sort your diving out first
A camera is task loading. It occupies your hands, your attention, and your buoyancy, which is why most instructors suggest logging a few dozen dives before carrying one. If you cannot hover motionless, hold flat trim, and back-kick away from a reef without thinking about it, the camera will make you a worse diver and the reef will pay for it. Solid buoyancy is the single biggest upgrade available to any underwater photographer, and courses that focus on it are worth more than any accessory.
What water does to light
Red light is largely gone within about 5 m of the surface, orange by roughly 10 m, and by 20 m the world runs on blues and greens. Water also scatters light off suspended particles, which drains contrast the farther a subject sits from the lens. Every technique in underwater photography flows from two fixes: get close, so you shoot through less water, and bring your own light to put the missing colors back. If a subject is more than a meter or two away, your honest options are a moody blue silhouette or a patient swim closer. Zooming is not one of them.
Choosing a first rig
Three routes make sense. An action camera is the cheapest entry and a genuinely good video tool, though it cannot fire strobes and struggles in low light. A compact camera in a dedicated housing is the classic first stills rig; complete setups commonly run from several hundred to around fifteen hundred US dollars before lighting. Mirrorless and DSLR systems in housings produce the best files, but the housing often costs as much as the camera, and ports, arms, and strobes multiply the bill from there. Across all three routes the same advice holds: buy lighting before better glass. One decent strobe improves pictures more than a new camera body ever will, because it solves the color problem at its source.
Starting settings that work
- Shoot RAW so color and exposure can be rescued later.
- In bright shallows on ambient light, start around ISO 100–400, aperture f/5.6–f/8, shutter 1/60–1/125, and adjust from what the screen shows you.
- Set a custom white balance off sand or a white slate at depth whenever you shoot without flash, and reset it when your depth changes.
- With a strobe, keep ISO low, let the flash expose the foreground, and control how blue the background water looks with shutter speed.
Treat all of these as starting points rather than rules. Light changes with depth, visibility, and time of day, and part of the craft is reading it dive by dive.
Habits that make the difference
Get close, then get closer. Shoot slightly upward toward open water so subjects separate from the seabed instead of dissolving into it. Focus on the eyes of anything that has them. Change one setting at a time between frames so you learn what actually moved the needle. Most of all, put the camera down when conditions or your buddy need you; no image justifies a crash landing on coral or a separated team. Before the trip, spend an evening in a pool with the empty housing, working the controls by feel. It is dull homework that pays off on the very first dive.