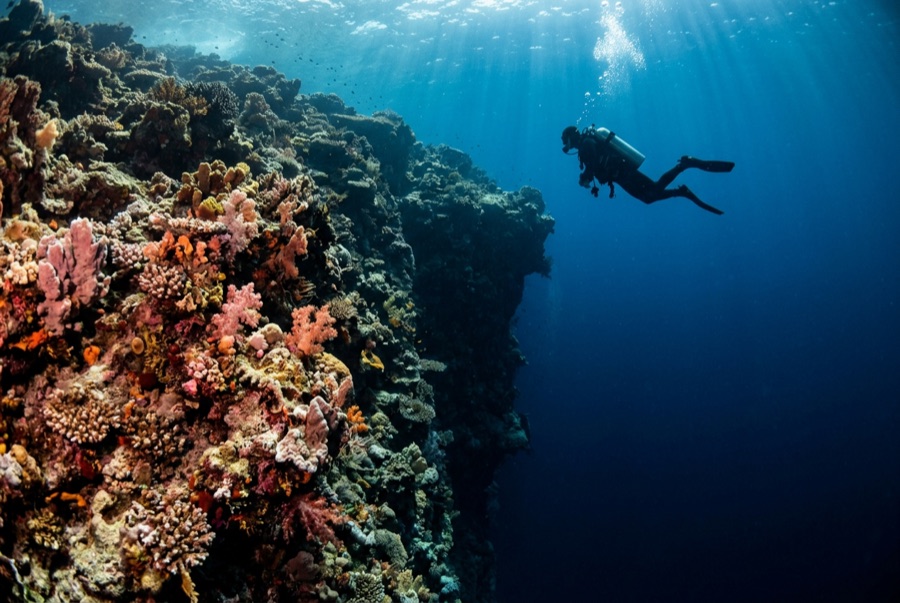
Great White Wall
Depth is the range from the top of the site to its usual maximum; "recommended cert" is the mainstream-agency level operators usually ask for, not a legal rule. Currents and visibility change daily, so treat everything here as planning ranges.
On the right tide, this wall does something no aquarium can fake: thousands of soft-coral colonies inflate at once and an entire vertical reef turns the color of fresh snow. Divers drop through a tunnel in the reef crest, emerge onto the face, and descend alongside a slope of white that keeps going well past sensible depth. The temptation to follow it is the site's real test. Anthias and fusiliers work the edge of the current while the corals feed. When the tide is wrong the wall looks gray and deflated, which is why guides refuse to dive it on a schedule rather than a tide table.
The moment you come for: The white soft-coral face at full feed; the tunnel entry; blue-water depth vanishing below the wall.
Topography: Sheer wall in the Somosomo Strait, its face carpeted in pale Dendronephthya soft coral
Current: Needs running water for the corals to open, but too much makes the wall unworkable; operators pick the window.
Entry: Timed to the tide; the classic route enters through a tunnel in the reef that exits partway down the wall.
Know before you splash
Hazards: Depth creep along a featureless white slope; current changes mid-dive; the tunnel demands basic overhead composure.
Conservation: Soft corals shred under a single misplaced fin: trim flat, stay off the face, and leave the wall as inflated as you found it.
Nitrox: Worth it here: profiles sit in the range where enriched air meaningfully extends no-stop time (with the training to use it).
Who you'll meet
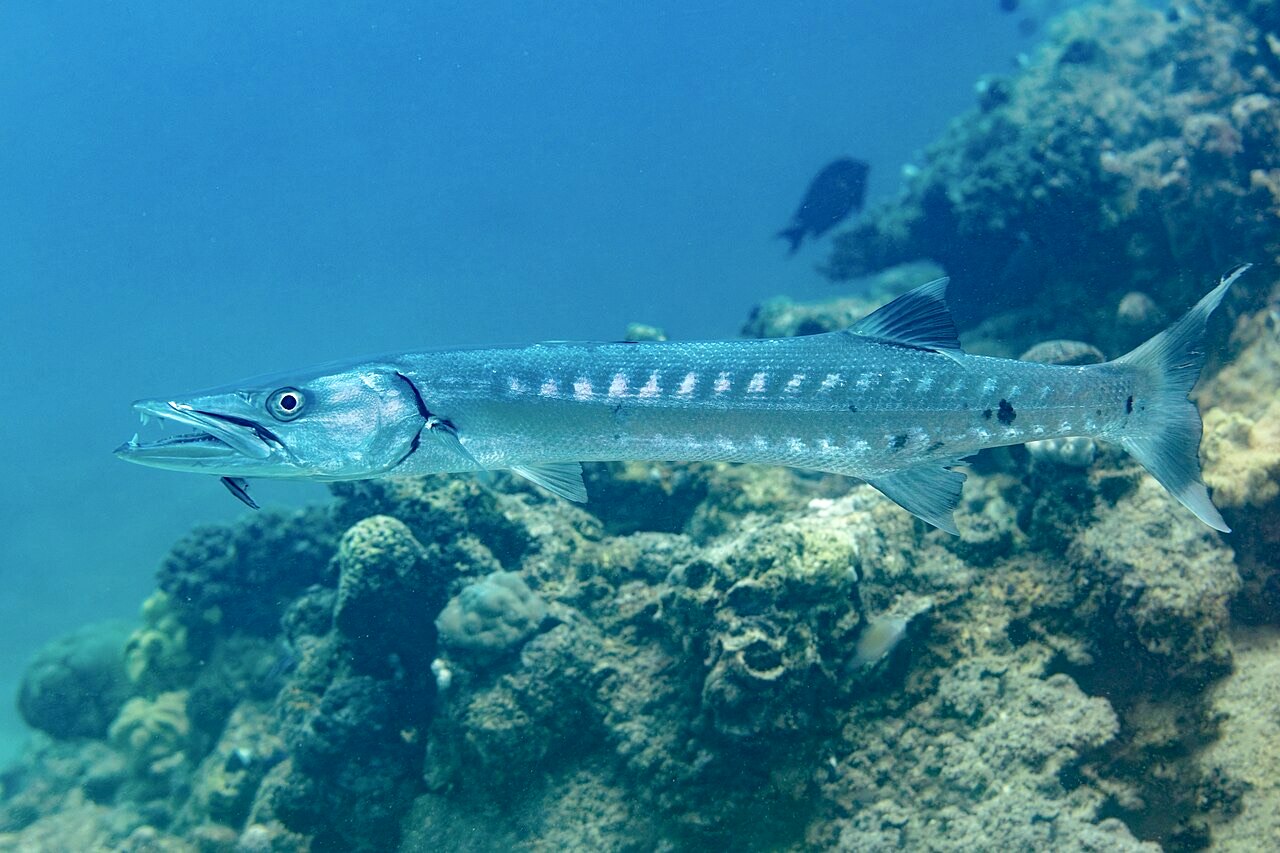
Great Barracuda
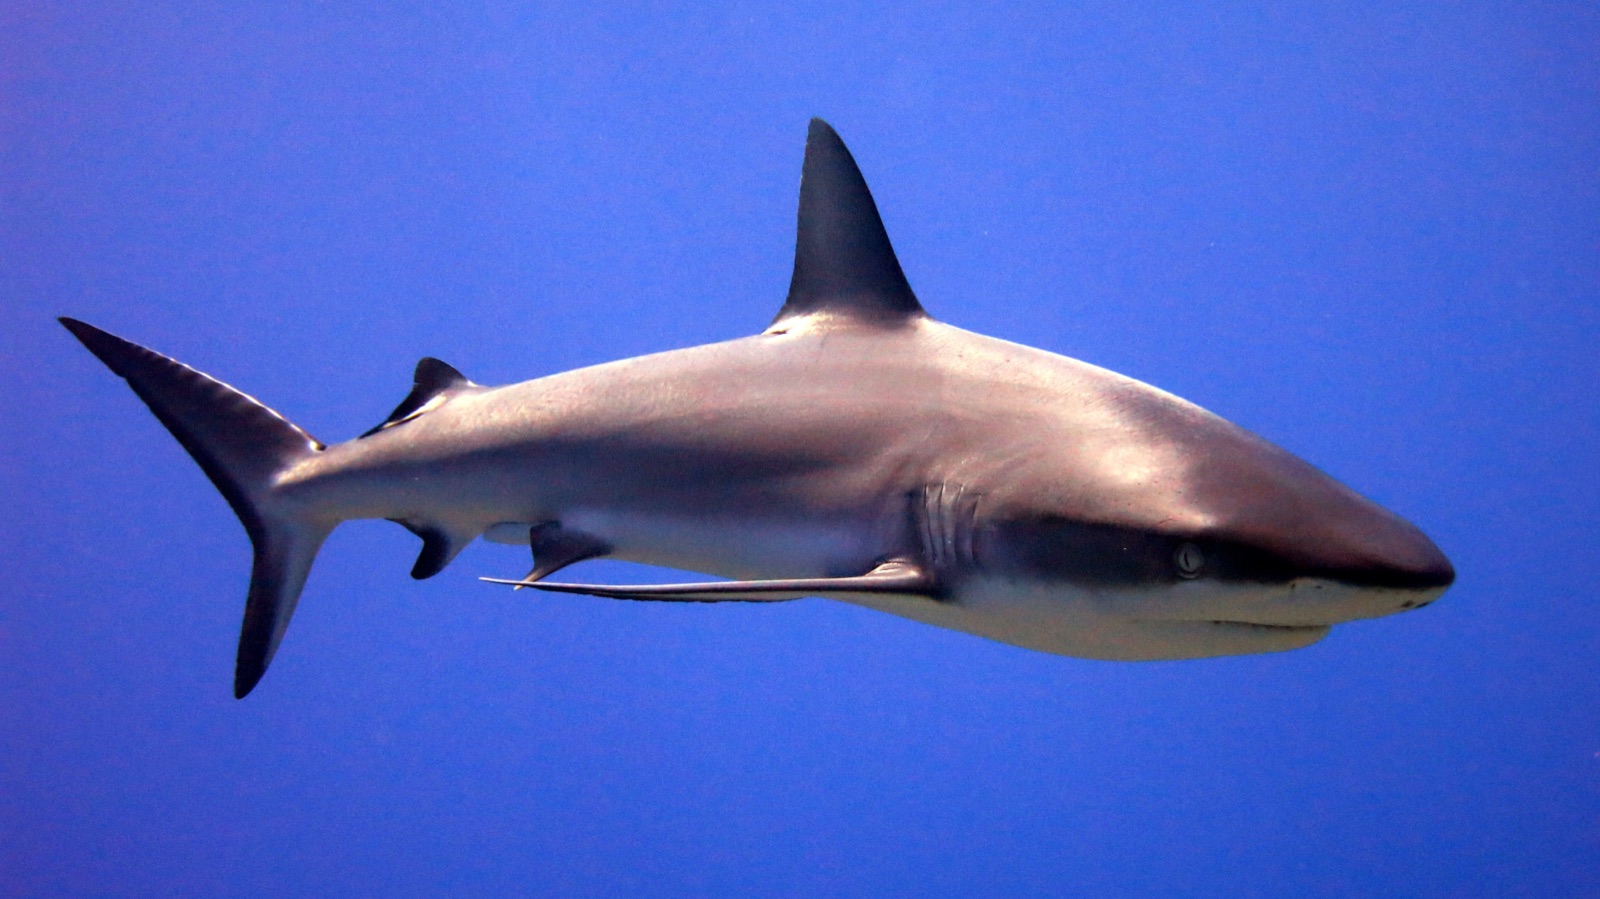
Grey Reef Shark
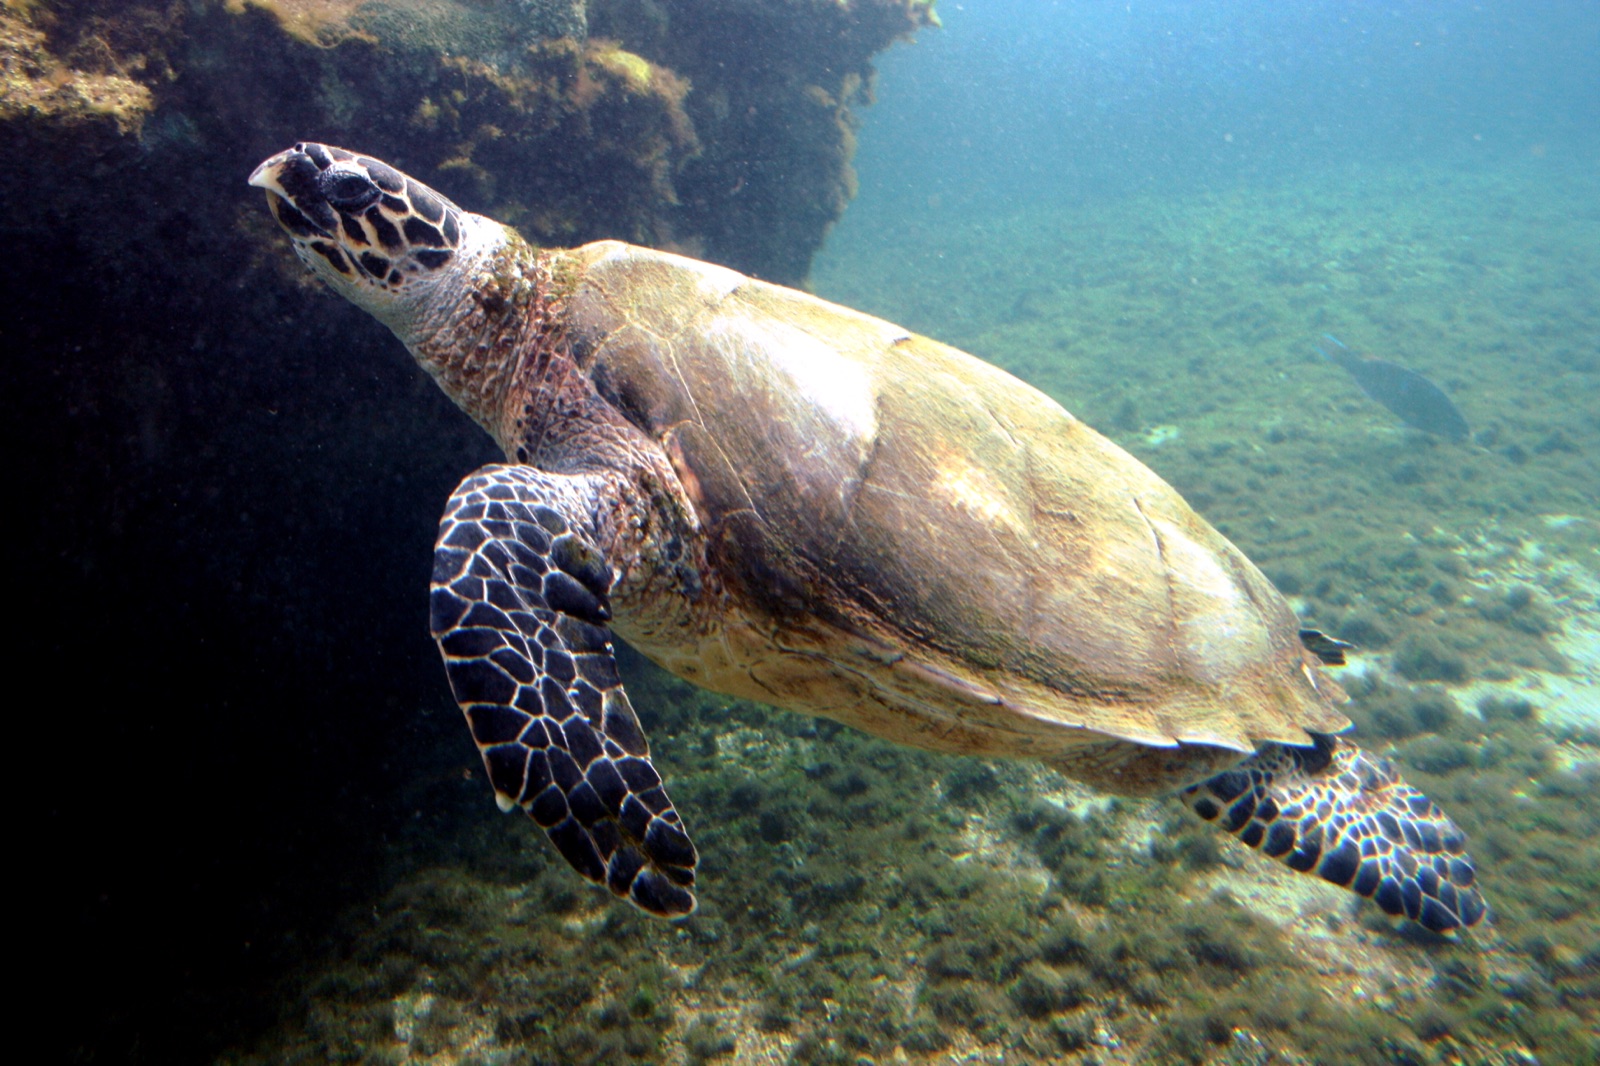
Hawksbill Turtle
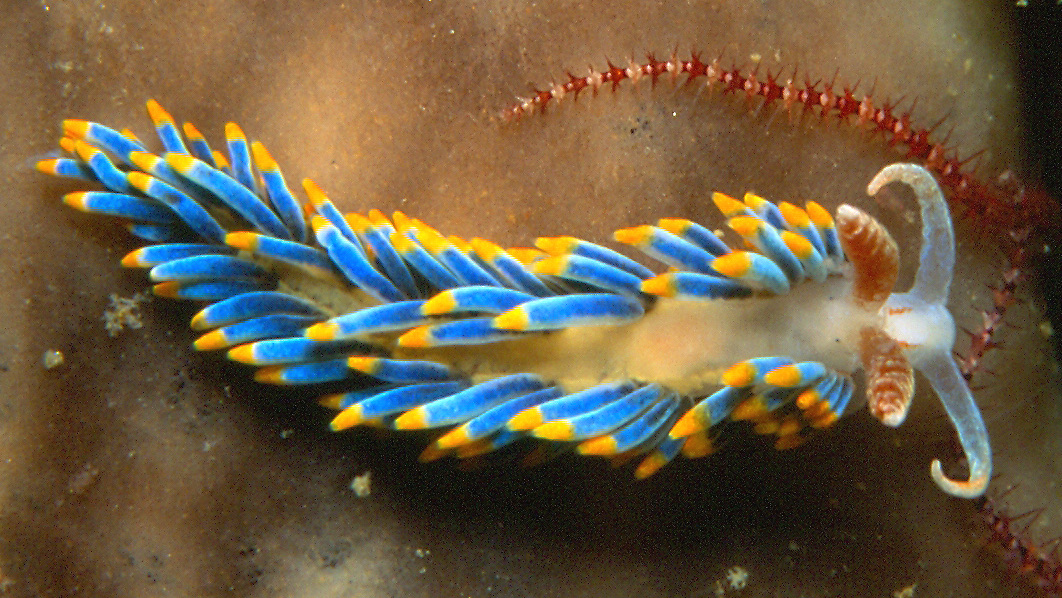
Nudibranchs
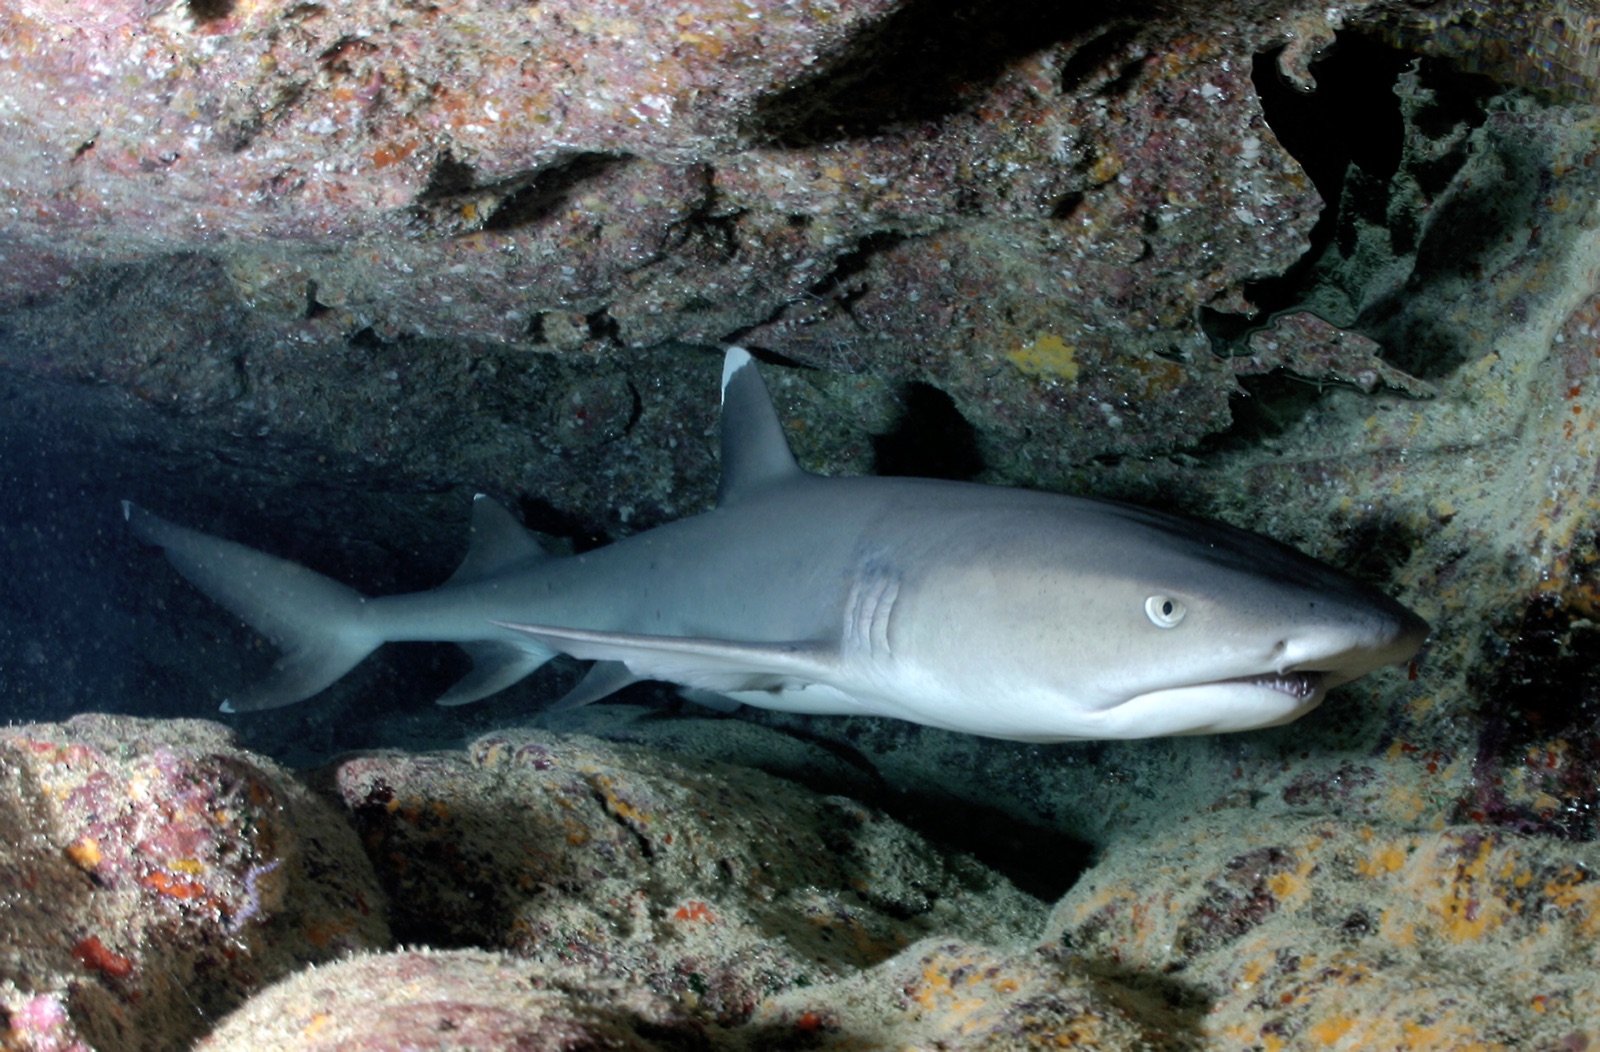
Whitetip Reef Shark
"Charted here" species were listed by our editors from the sources on this page. Counts are GBIF occurrence records: observations logged within about 5 km of the charted position since 1990, matched only against the species in our catalogue. They show what has been seen there, not a promise of what you will see.
For photographers
Wide angle: ★★★★★ · Macro: ★★☆☆☆ (editors' 1–5 rating of what this site gives each style of shooting)