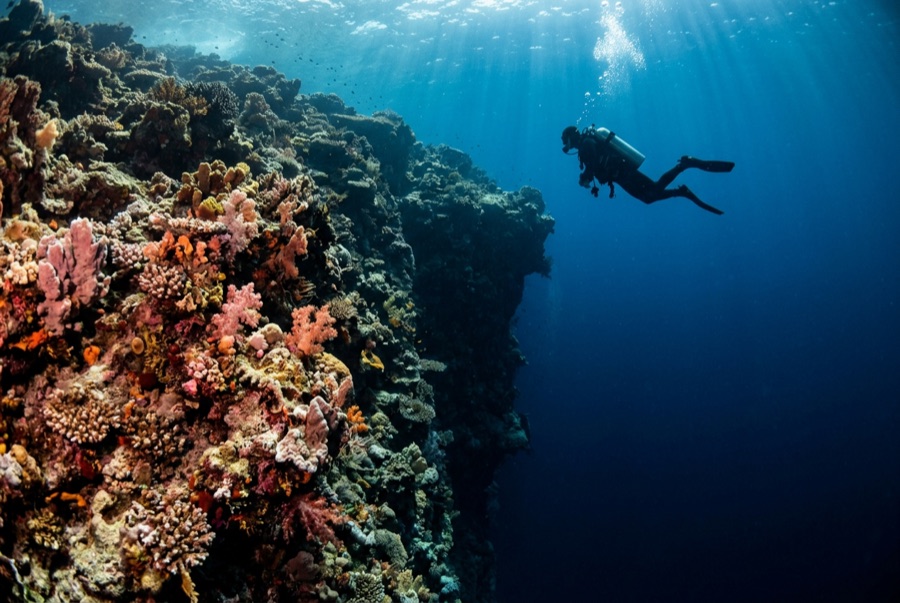
Great White Wall
수심은 사이트 상단부터 통상적인 최대 수심까지의 범위이며, '권장 자격증'은 업체에서 통상적으로 요구하는 주요 인증 기관 기준이지 법적 규정이 아닙니다. 조류와 시야는 매일 달라지므로, 모든 정보는 계획 수립용 참고 범위로 활용하세요.
On the right tide, this wall does something no aquarium can fake: thousands of soft-coral colonies inflate at once and an entire vertical reef turns the color of fresh snow. Divers drop through a tunnel in the reef crest, emerge onto the face, and descend alongside a slope of white that keeps going well past sensible depth — the temptation to follow it is the site's real test. Anthias and fusiliers work the edge of the current while the corals feed. When the tide is wrong the wall looks gray and deflated, which is why guides refuse to dive it on a schedule rather than a tide table.
바로 그 순간: The white soft-coral face at full feed; the tunnel entry; blue-water depth vanishing below the wall.
지형: Sheer wall in the Somosomo Strait, its face carpeted in pale Dendronephthya soft coral
조류: Needs running water for the corals to open, but too much makes the wall unworkable — operators pick the window.
진입: Timed to the tide; the classic route enters through a tunnel in the reef that exits partway down the wall.
입수 전에 알아두세요
위험 요소: Depth creep along a featureless white slope; current changes mid-dive; the tunnel demands basic overhead composure.
보존: Soft corals shred under a single misplaced fin — trim flat, stay off the face, and leave the wall as inflated as you found it.
나이트록스: 여기서는 가치 있습니다 — 수치 범위상 나이트록스를 사용하면 무감압 시간을 의미 있게 연장할 수 있습니다(단, 관련 교육 이수 필요).
만날 수 있는 생물
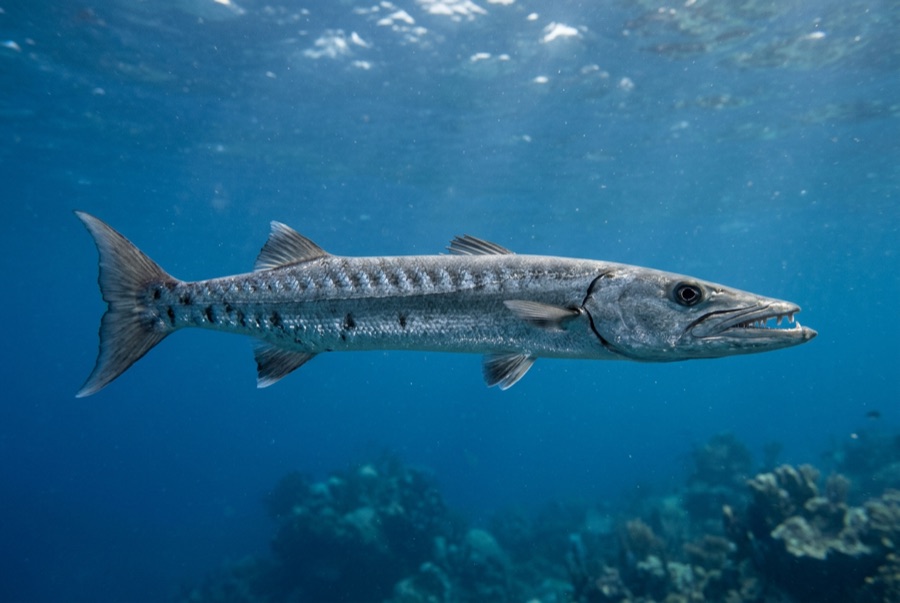
Great Barracuda
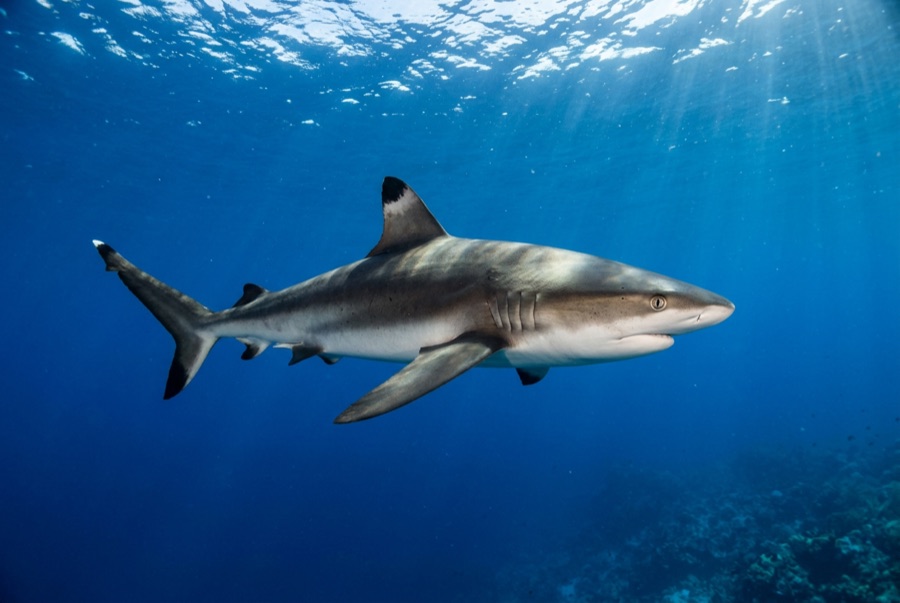
Grey Reef Shark
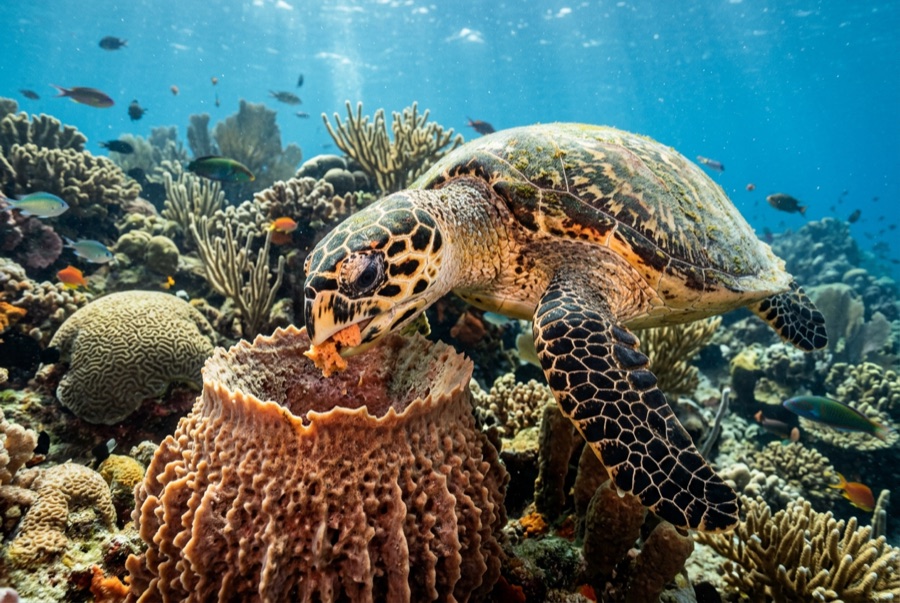
Hawksbill Turtle
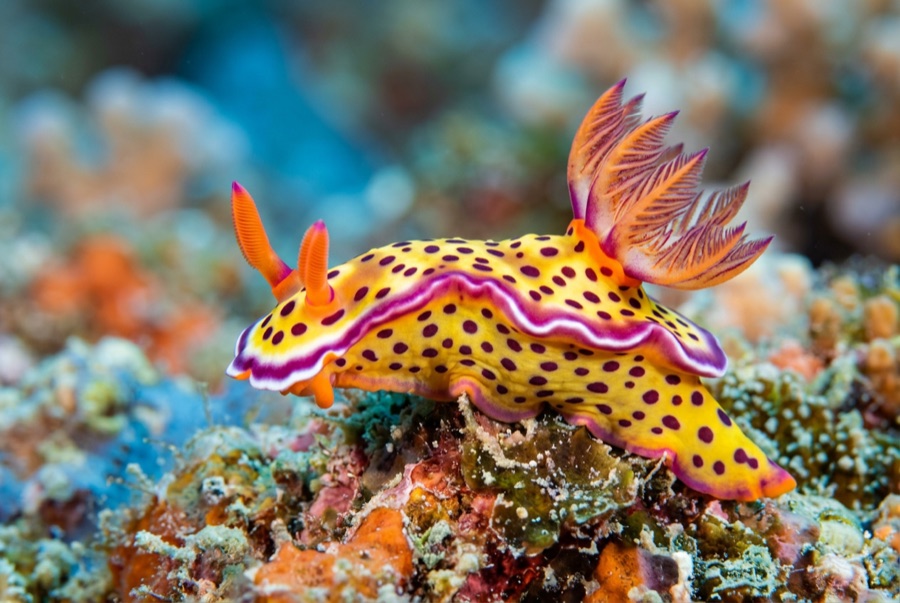
Nudibranchs
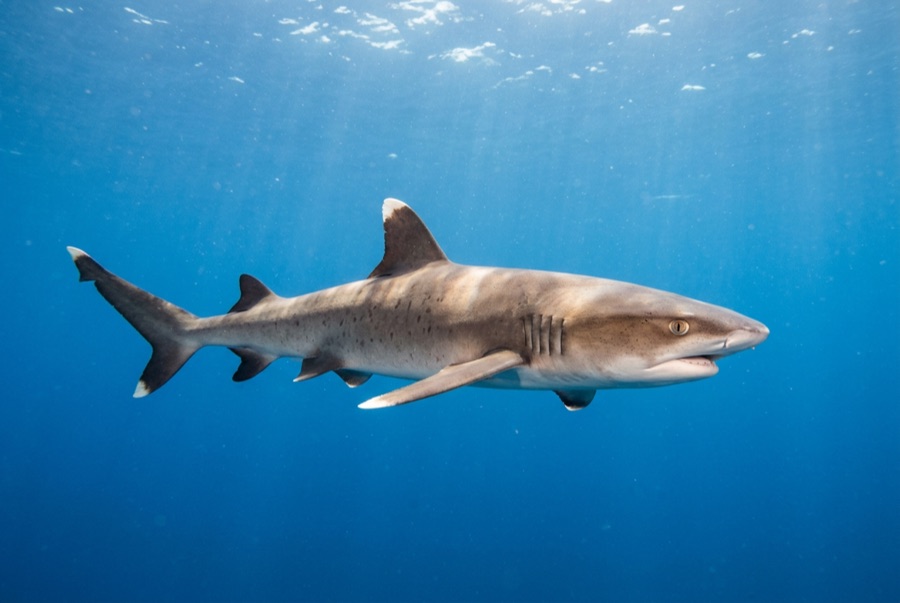
Whitetip Reef Shark
수중 촬영자를 위한 정보
광각: ★★★★★ · 마크로: ★★☆☆☆ — 각 촬영 스타일에 대한 에디터의 1–5점 평가